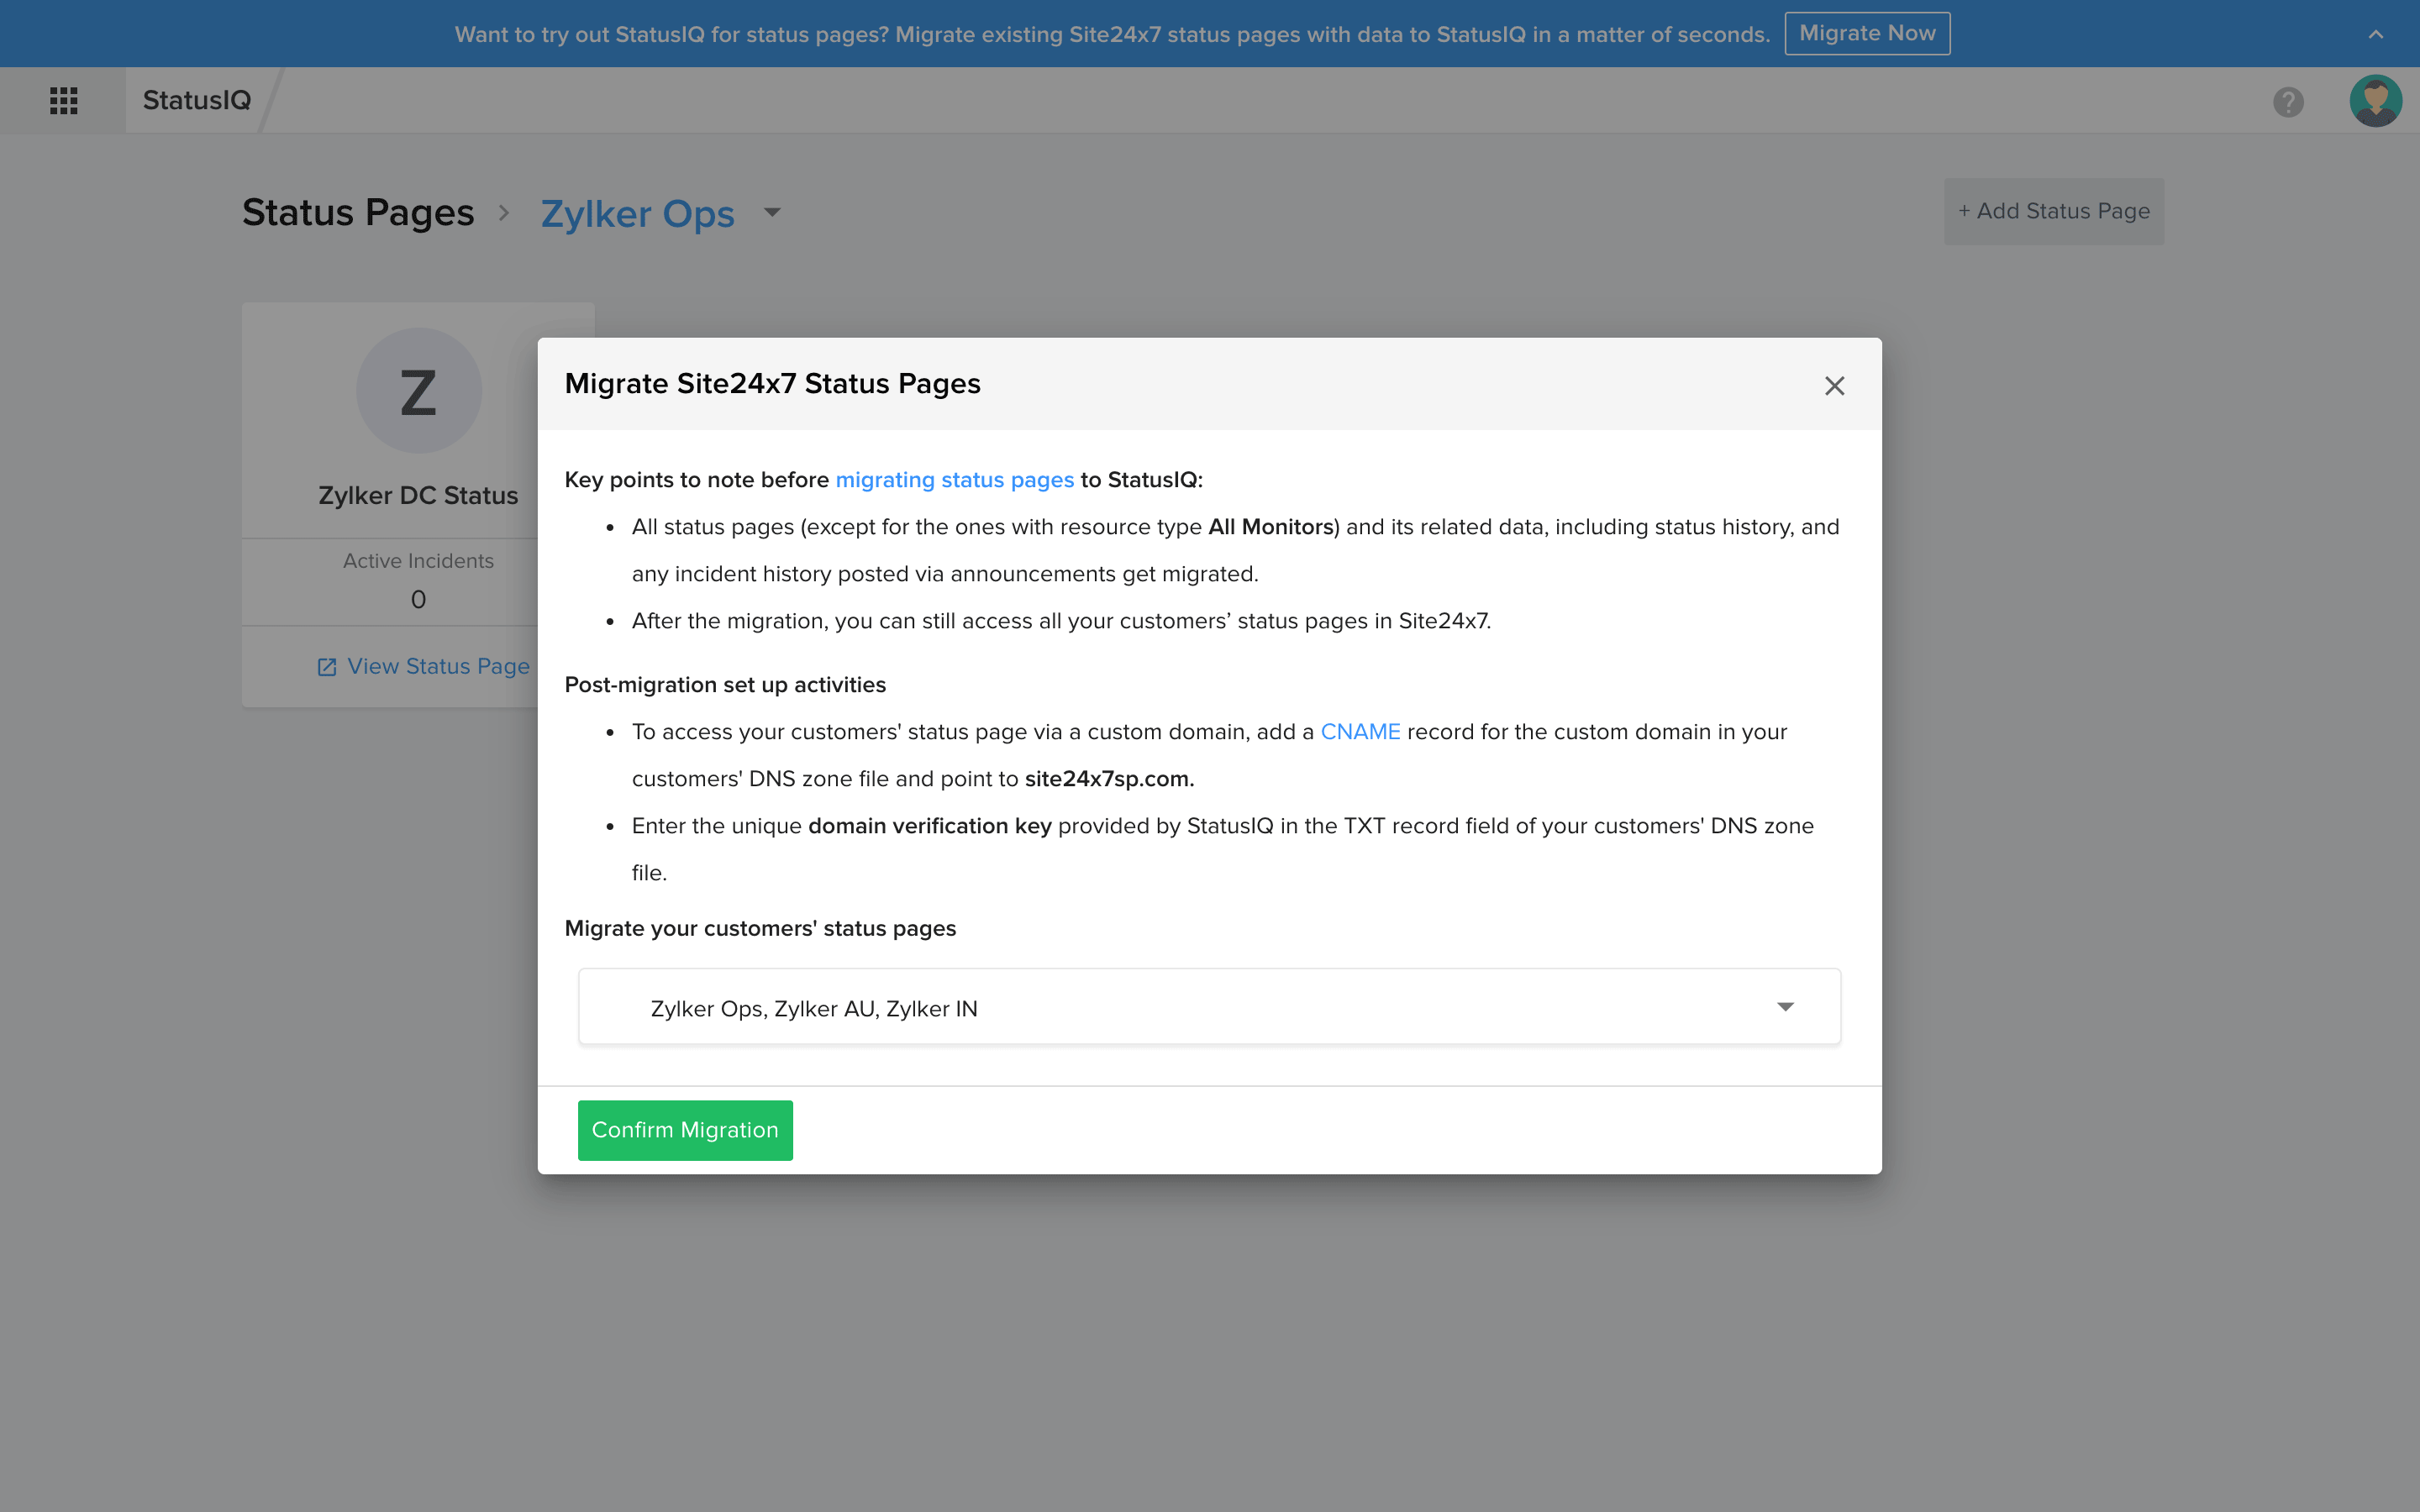
Migrate Site24x7 MSP customer Status Pages to StatusIQ
You can migrate all your MSP customer status pages to StatusIQ. Please follow the steps below to initiate customers' status page migration:
- Log in to any MSP customer account, and click the "Try Now" link, provided in the top band of the customer status page dashboard. In the StatusIQ web client, you can migrate all your customer status pages to StatusIQ.
- Alternatively, you can access the link https://www.site24x7.com/sp/client?fs=true with your MSP account credentials in any web browser. Once you can view the StatusIQ web client, click the Migrate Now button on the top band of the screen.

StatusIQ for Site24x7 Managed Service Provider(MSP) customer accounts
If you are someone who uses the Site24x7 Managed Service Provider plan to monitor all your customer accounts, create StatusIQ for each of your customer accounts following the steps listed below:
- Log in to your Site24x7 MSP account.
- Access the StatusIQ icon from the product switcher on the top-left screen of your MSP dashboard. You will now be logged in to the StatusIQ client portal.
- Choose the MSP customer account from the drop-down provided in the StatusIQ home page.
- After choosing a customer account, click the Add Status Page button to create a new status page for your selected MSP customer account. Continue doing the same for all customers.
During component status automation in the Add/Edit component form, only those monitors that are associated to the selected MSP customer account alone will be shown.
-
On this page
- StatusIQ for Site24x7 MSP customer accounts